The Hopfields and the Wayward Light
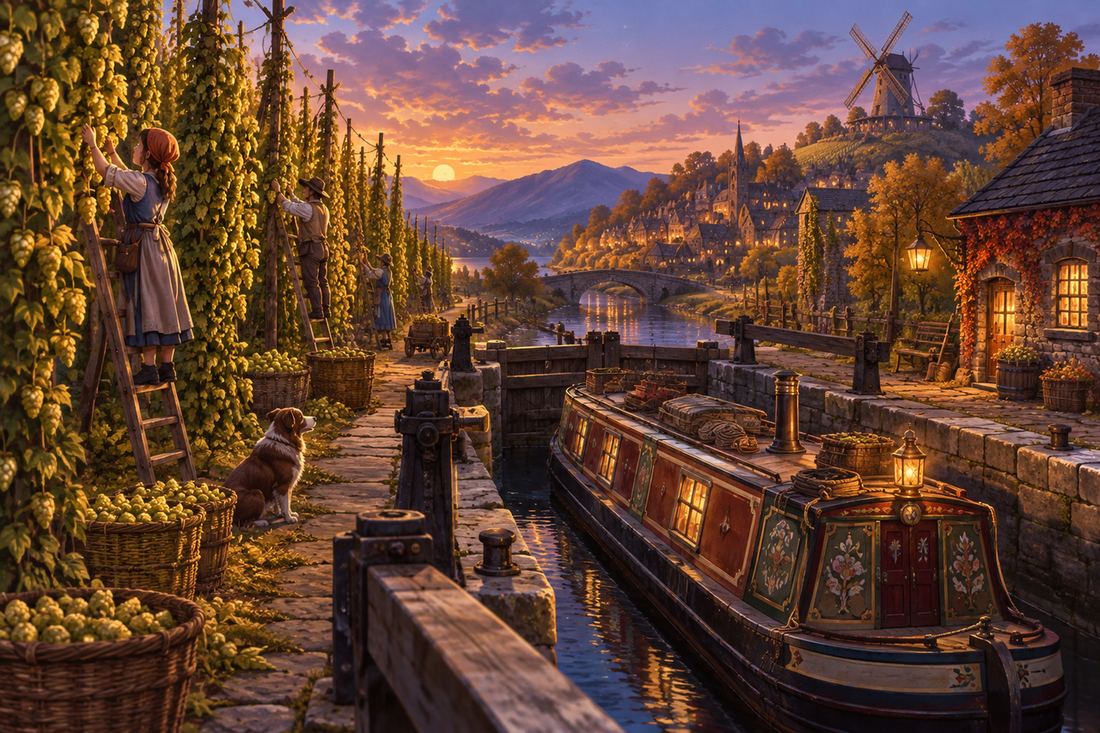
The hop gardens, a stilled canal lock, a windmill that thuds behind a barred door, and a lamp road that stays lit all night.
On this page
North of Wicklow the hop bines climb their poles in long rows, and the pickers stand among them frozen mid-reach. A canal barge sits dead still in the water, the lock gates are shut, and on the hill something thuds and grinds behind the windmill's barred door.
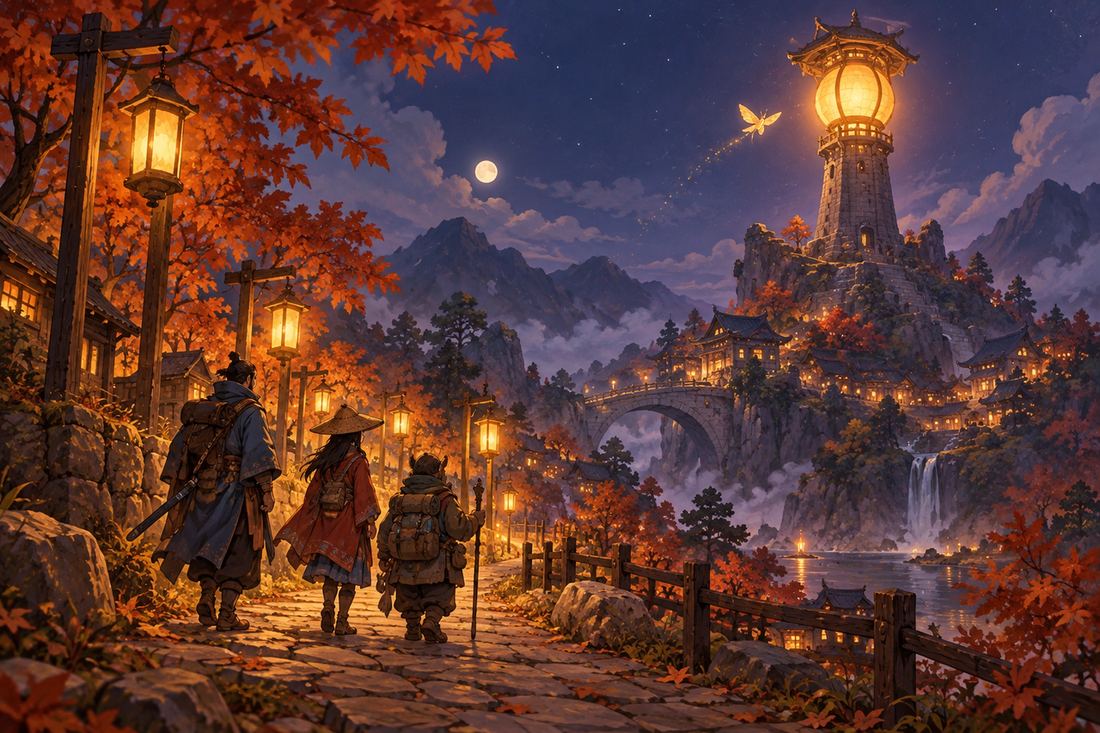
The Rust come up thick here when the light starts to go. The only safe road is the lamp road to the east, where a tall tower keeps a great lamp burning and every lamp along the way is lit.
At a glance
| Where | The Hopfields, The Hop Exchange, The Wayward Light, The Windmill. You reach the Hopfields by the north path from The Wicklow Road. |
| Who you can meet | Bett, a bargewoman with a hold full of hops. Nan Hollis, Joss, Lock-keeper Brindle. Mr Greaves at the Hop Exchange. The lamplighter at the Wayward Light. Farmer Mossop, back on The Wicklow Road, if you skipped his errand. |
| Shops and inns | The Hop Exchange (Mr Greaves): Tonics 12 Marks, Oil Cans 10, Brine Flasks 34, Hop Salve 46 (heals the whole party a little). More on the Shops page. There is no inn here. |
| Rest and save | A camp in the Hopfields once Bett is with you. A save clock in the Windmill. You also get a night's rest at the Wayward Light. |
| Moth Light | Seek, learned at the tower. It shows hidden chests nearby and, in battle, what a foe is weak to. |
| Travel | After the Windmill you can take Bett's barge, the Kittiwake, on to the next town. |
Rust here
Water-themed Rust are weak to Tide, which is Bett's element. The scarecrows and the Windmill's machines prefer Spark. Full tables are on Wicklow to Tollbridge Rust.
| Rust | Where | Weak to |
|---|---|---|
| Rust Picker | Hopfields | Tide |
| Rust Gnats | Hopfields, Windmill | Tide (fast, 25% evade) |
| Rust Scarecrow | Hopfields, Wayward Light | Spark (strong at magic) |
| Baler | Windmill | Spark (heavy, resists Gear) |
| Rust Crawler | Wayward Light | Spark |
| Spitter | Wayward Light | Spark (can leave a friend Rusting) |
The optional elite is The Great Baler, found with two Rust Gnats at the edge of the Hopfields, the Windmill and the Wayward Light. It is weak to Spark, resists Gear and does not return once beaten. A boss waits at the top of the Windmill.
Chests and secrets
Three chests in the Hopfields are hidden. Once the moth has learned Seek, come back and look for them.
| Where | Chest | Hidden |
|---|---|---|
| Hopfields | Lucky Hop | Yes, needs Seek |
| Hopfields | Hop Salve | Yes, needs Seek |
| Hopfields | 2 x Brine Flask | Yes, needs Seek |
| Hopfields | 60 Marks | No |
| Windmill | Miller's Coat | No |
| Windmill | Brass Coil | No |
The Windmill's machinery is jammed. A carved beam hints at how the levers should be set, so read it before you start pulling.
Side stories and errands
| Errand | Where | What to do | Reward |
|---|---|---|---|
| Wren's first round | Hop Exchange, the Hopfields, the Wayward Light | Deliver the three letters Aunt Agnes gave you: one to Mr Greaves at the Hop Exchange, one to B. Marsh on the canal, and one to "the Lamp, Wayward Road". | 50 Marks when all three are delivered |
| Mossop's Field | The Wicklow Road | If you skipped it in Chapter 1, clear the Rust from Farmer Mossop's field. | Brass Button and 30 Marks |
Tips
- Bring Tide for the Pickers and Gnats: Brine Flasks and Bett's Undertow. Bett's Drop Anchor pulls single-target attacks onto her.
- Do not wander far after dark. Follow the story to the lamp road and keep to the light.
- Stock up on Hop Salve and Wind Draughts at the Exchange before the Windmill, and rest at the save clock beside its exit.
- Return to the Hopfields once the moth has learned Seek and sweep for the three hidden chests.
The full story of this chapter is on Chapter 2 plot and boss, with spoilers.
Next stop: Tollbridge and Belcourt. Back: Wicklow Halt and the Old Cutting.