Chapter 2 plot and boss - The Windmill
Bett and her barge, a night at the lamp tower, the jammed windmill and the Thresher.
On this page
Warning This page gives away the plot and the boss of this chapter.
Place guide: The Hopfields and the Wayward Light. Previous: Chapter 1 plot and boss. Next: Chapter 3 plot and boss.
What happens
The path north brings Wren and Corwin into the Hopfields, where every picker stands frozen mid-reach. The moth drifts towards the canal and a barge sitting dead in the water. Up from below deck comes Bett Marsh, owner of the Kittiwake, who was below when it happened and came up to find everything had stopped. The lock is frozen, the lock-keeper is frozen and her hold of hops is going nowhere. Wren realises that "B. Marsh, barge Kittiwake" is one of the three people on Agnes's list, and hands over a letter from Bett's sister in Saltmarsh. Bett says she will read it later. Then she decides that fixing clocks and fixing her lock are the same job, and joins the party.
The lock has its own clock, stopped at twelve minutes past six, with a note behind its face in the same hand as Wicklow's: "Please stop. Let the water rest. It has carried enough. - S." Corwin says it is the same writer. Bett explains that the lock runs off the windmill's pump, so the mill has stopped too. As they talk the light goes amber and then grey, and Bett refuses to go out in the dark. She sends them to the lamp tower on the east road.
At the Wayward Light every lamp along the road is burning. The lamplighter lights them all every night: "It's not much. But it keeps the road." Wren delivers the last of her letters, and the moth rises up the tower to the great lamp, circles the flame and comes back shining a little differently. It has learned Seek. The lamplighter lets the party rest until morning, and asks them to tell whoever keeps the bell in the valley that the lamps are lit all the way to the wall. Along the way Mr Greaves, at the Hop Exchange, welcomes Agnes's girl, and with all three letters handed over Wren earns 50 Marks and the line that couriers finish deliveries.
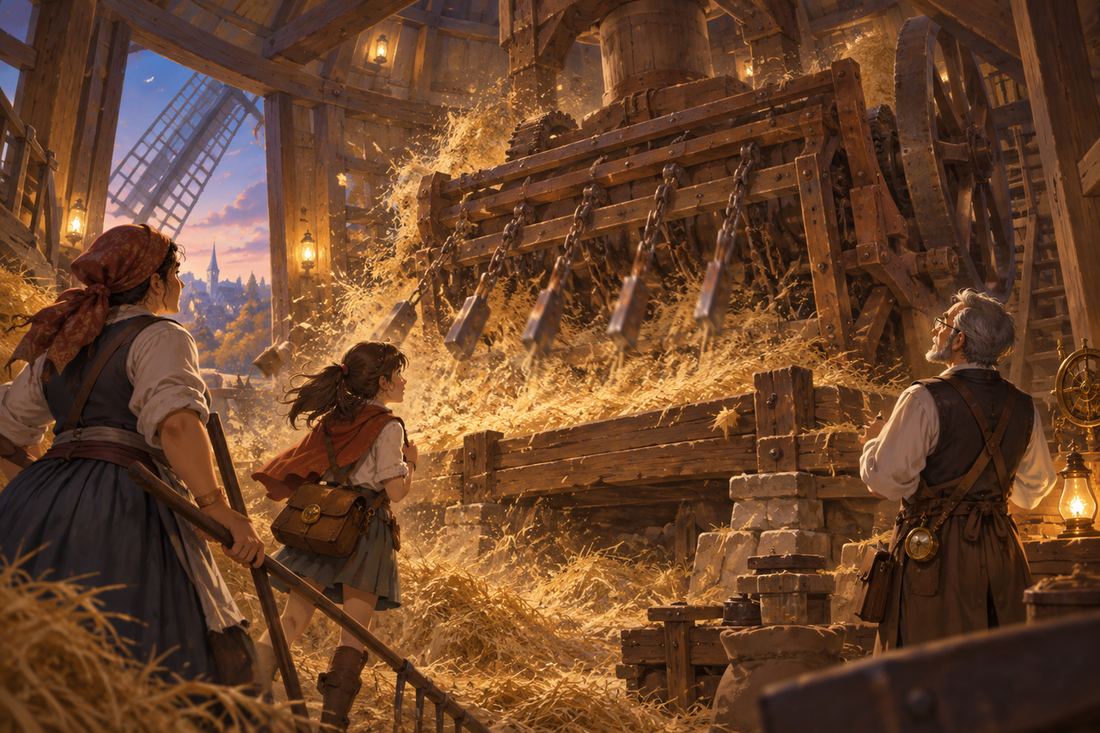
In the morning the mill door opens. Inside, the machinery is jammed, and the levers work the hatch to the threshing floor. A beam is carved with a hint: "Sails turn true when the first and the last are set, and the middle is let be." So the first and last levers go on and the middle one stays off. Above, a barn-sized machine beats the empty boards, and Bett recognises old Brindle's thresher, which has been threshing nothing for a week. After the fight its flails slow and it settles with a tired creak.
The mill clock still has its escapement this time, only jammed with chaff. The moth circles the face and the pendulum swings. The great sails turn, the pump wakes, the lock fills and the pickers carry on as if nothing had happened. In the clock case is a third note: "Someone will come and mend this one too. Someone always does. You don't understand what you're mending. - S." Corwin goes quiet and admits he has seen that handwriting before. Bett offers to carry the party down the canal past the fallen oak. Lock-keeper Brindle thanks you for putting his thresher to rest.
Party and moth
- Joins: Bett (level 5), a guardian. Her Drop Anchor makes the Rust attack her instead of her friends. Nobody leaves.
- Moth Light: Seek (Light 2), at the Wayward Light. It reveals hidden chests nearby and shows a foe's weakness in battle.
- Bonds: Fighting side by side and talking at camp builds a Bond between two friends, and a strong Bond opens a Chain move they share.
Boss: The Thresher
The windmill's threshing machine, still beating the same empty floor. It is much sturdier than the Porter and hits harder. These are base figures, and the game tunes bosses higher.
| HP | 1400 |
| Attack | 40 |
| Defence | 12 |
| Mind | 33 |
| Speed | 12 |
| XP / Marks | 260 / 160 |
| Weak to | Tide |
| Resists | Nothing |
| Drops | Wind Draught (always) |
Moves
- Flail: an ordinary hit on one friend.
- Chaff Cloud: a weak magic attack on the whole party, with a 60% chance to leave each friend Dazed for 2 turns.
- Wind Up: no damage; it hurries its own next turns.
- Threshing Storm: BIG, damages the whole party. Glow warns you a turn early.
- Grind Stone: BIG, one very heavy hit. Glow warns you a turn early.
Pattern. Flail, Chaff Cloud, Wind Up, Threshing Storm, Flail, Grind Stone, Flail, Chaff Cloud, Threshing Storm, Wind Up, Grind Stone, then it starts again. Two Threshing Storms and two Grind Stones fall in every cycle.
Advice. Use Tide: Bett's Undertow (which can also Slow it) and Brine Flasks, 34 Marks at the Hop Exchange, with two more in the hidden chest in the Hopfields. The moth's Seek also shows the weakness in battle. Bett's Drop Anchor draws Flail and Grind Stone onto her, but it does nothing against the whole-party moves, so heal with Hop Salve (46 Marks, heals everyone) after a Threshing Storm. Corwin's Mend and Delay help, and Wren's Hurry can bring a healer in sooner. Spark only does ordinary damage here. Rest at the save clock by the exit before you climb, and if it is too hard, train a few extra fights first: the Rust returns after a rest.
What the chapter leaves you with
- Bett and the Kittiwake, and the Seek Light for finding hidden chests.
- Three hidden chests waiting back in the Hopfields.
- A third note from "S.", and Corwin's admission that he knows the handwriting.
- The barge down the canal towards Tollbridge.
Next: Chapter 3 plot and boss.